Maya Texturing and Concept Rendering
This next task is to enhance my Space-Based Escape Pod by designing unique textures and materials using Adobe Substance Painter. To accomplish this, I first needed to U.V unwrap my model in Maya, a process that involves flattening the model’s surfaces into a 2D representation for texture mapping.
Unwrapping
As stated in the introduction, the initial step is to U.V. unwrap my model in Maya, thus allowing easier application of textures and colours using Adobe Substance Painter. Thankfully, the process is made easy using the application’s automatic unwrap tool.
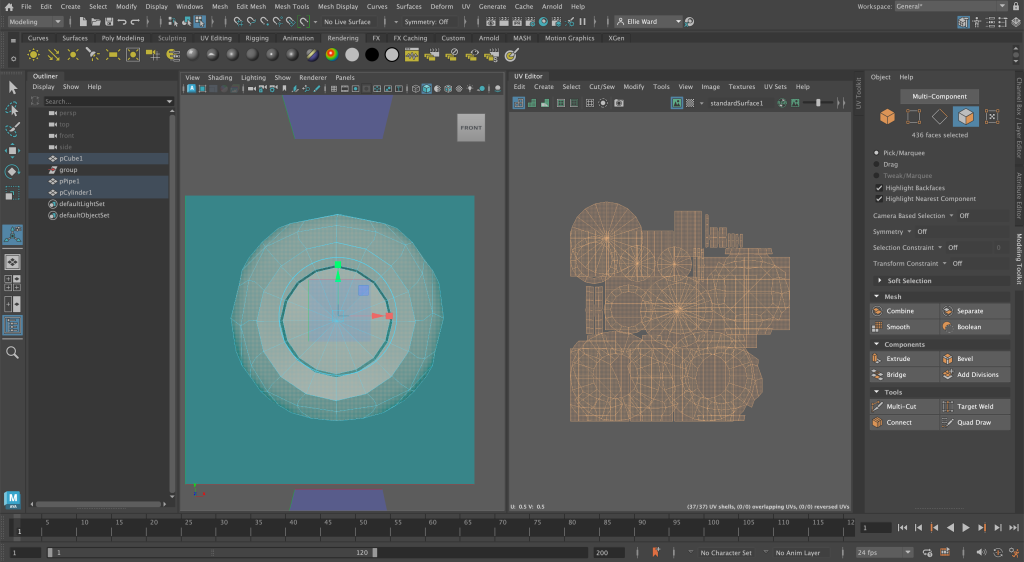
Following the completion of the model unwrapping, as shown in Figure 2, the product is presented in 2D components. Initially, these components were overlapping, making them difficult to work with; this was resolved using the automatic layout tool.
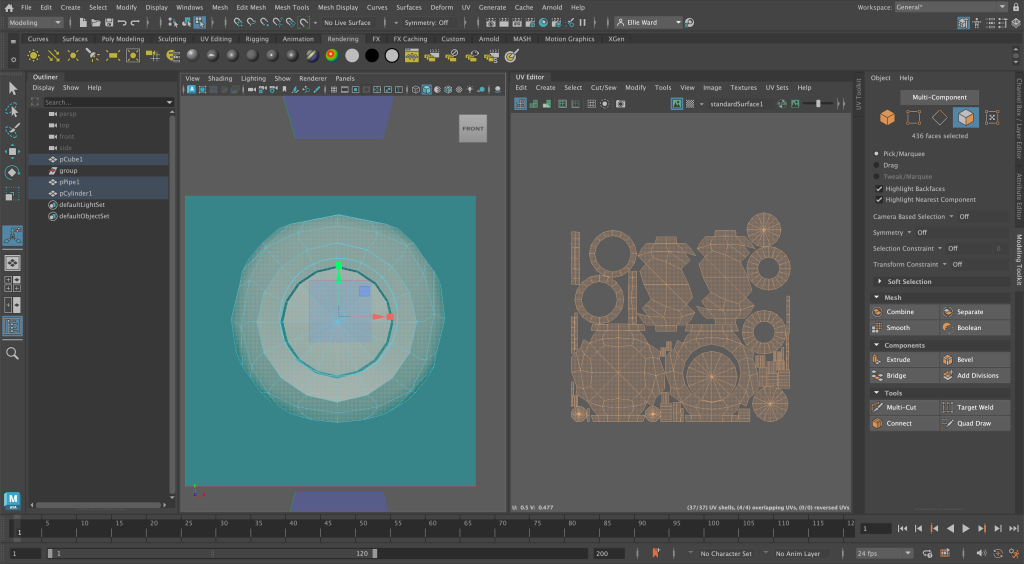
To conclude this part of the task, I exported the finished product as an OBJ, which allowed me to import it into Adobe Substance Painter, which took me to the next step.
Aim
Before creating alterations to my model, I needed to understand what I was aiming for. As stated in my previous post, during the design process of the escape pod, the primary aim is to reflect a futuristic and modern look. While I want the outcome to be aesthetically pleasing, I have also incorporated scientific reasoning when choosing materials, textures and colours to achieve a realistic product.
Design Development
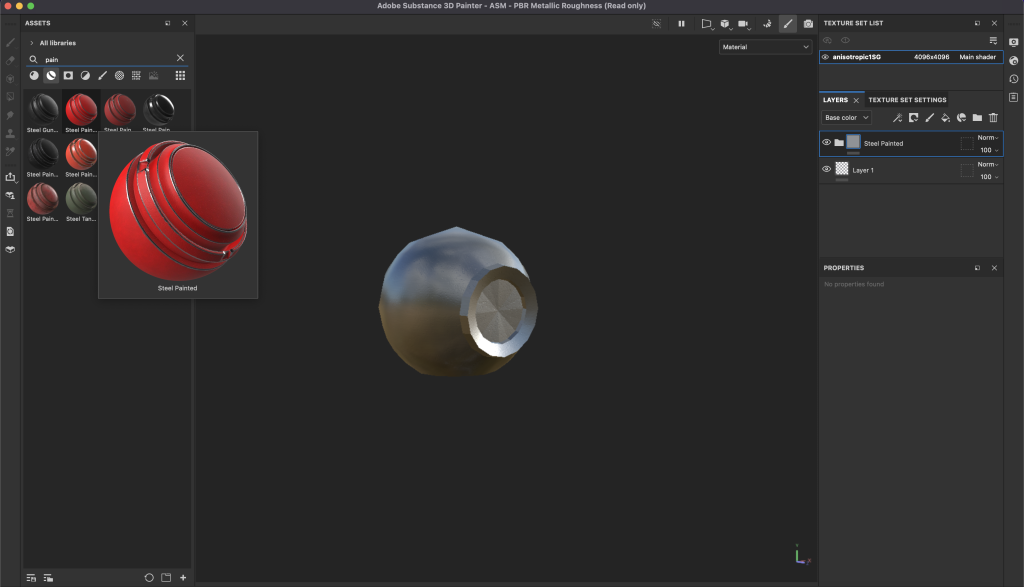
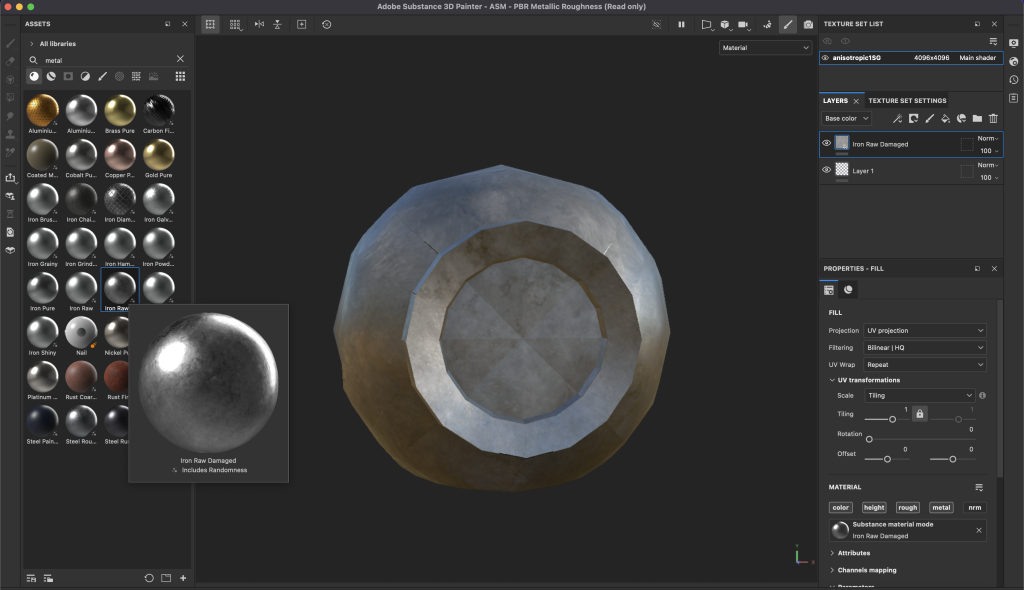
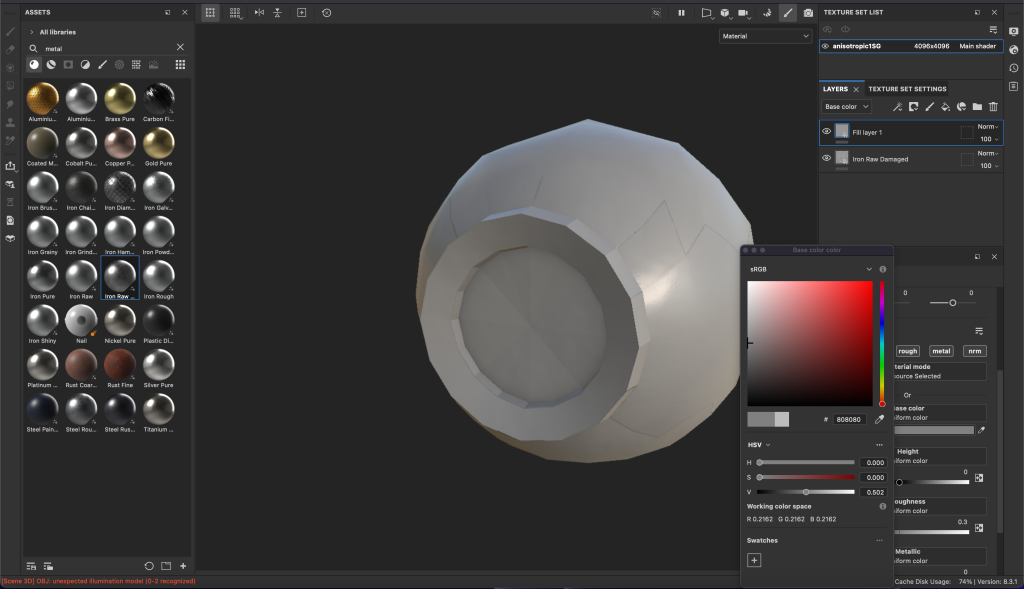
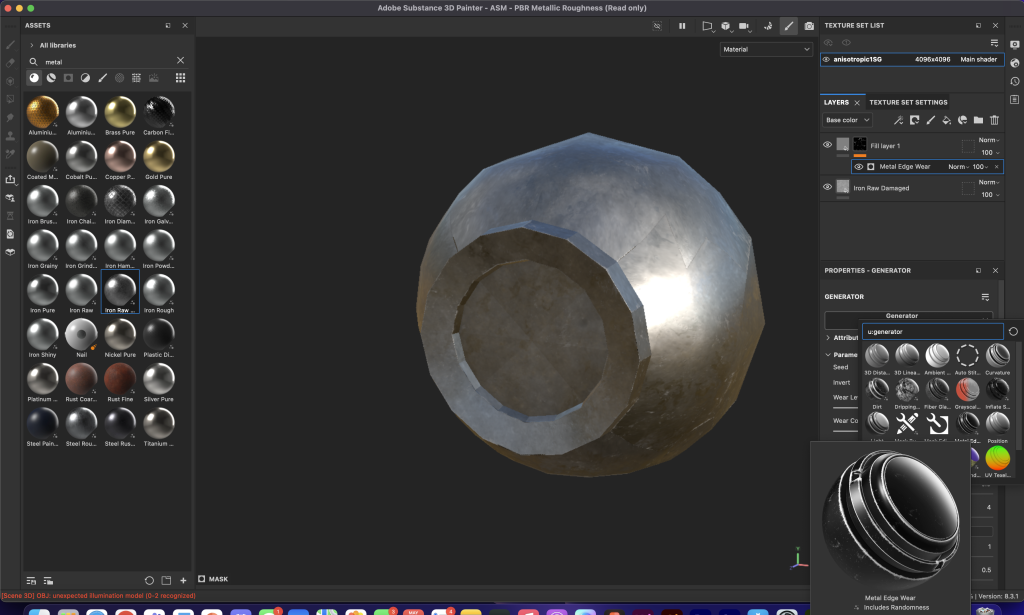
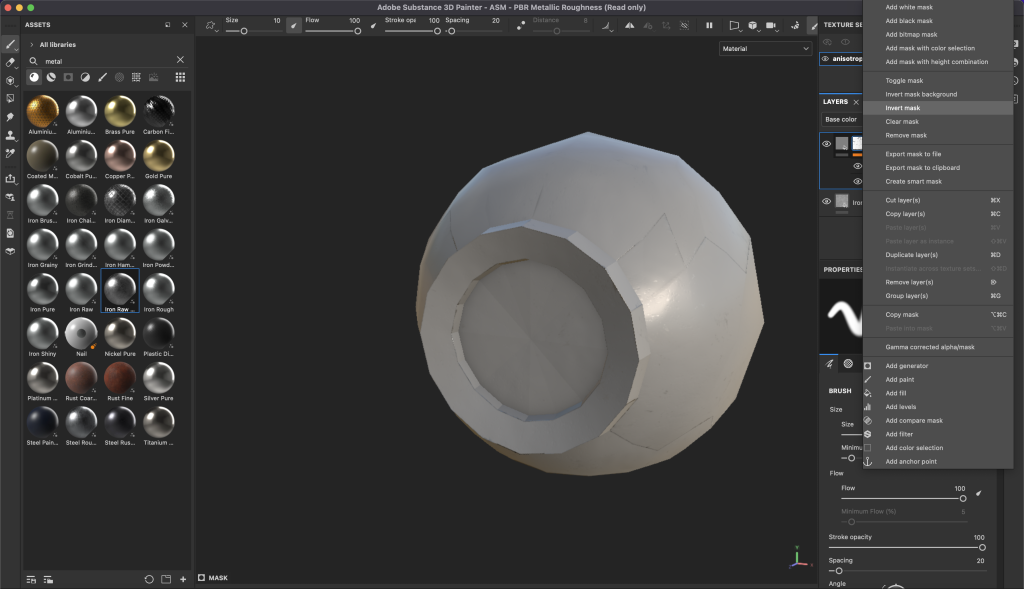
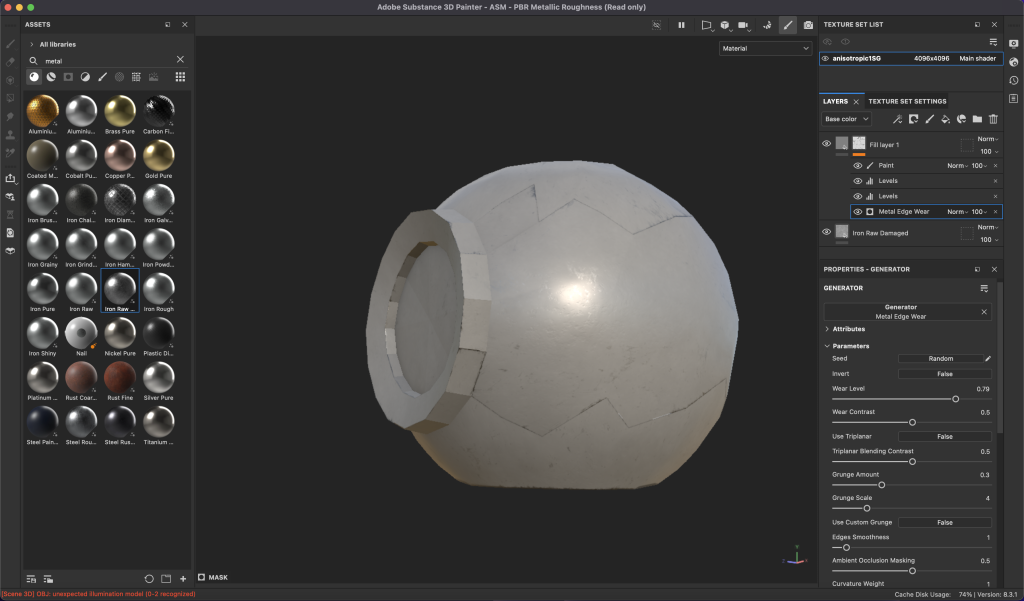
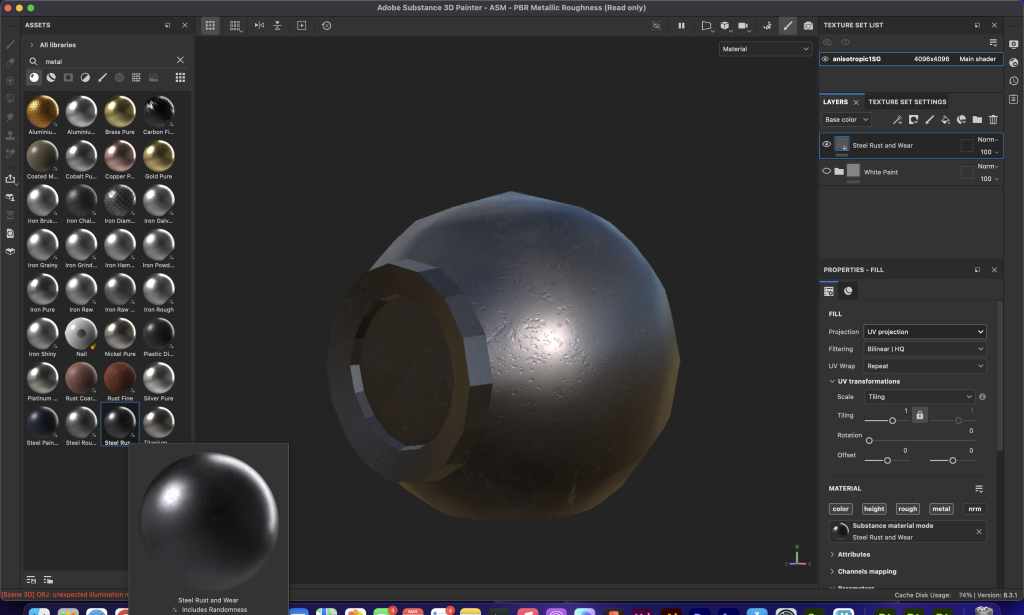
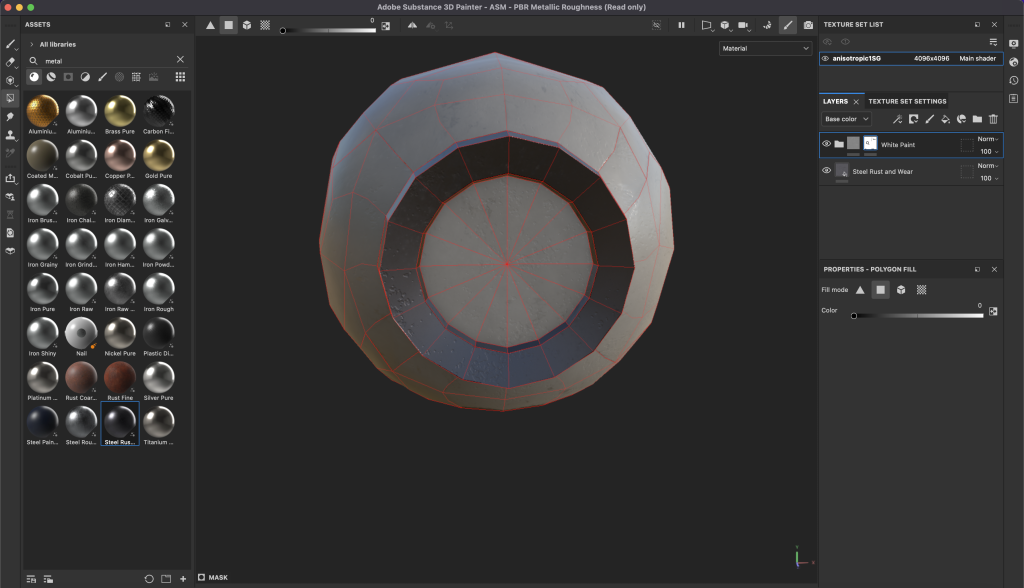
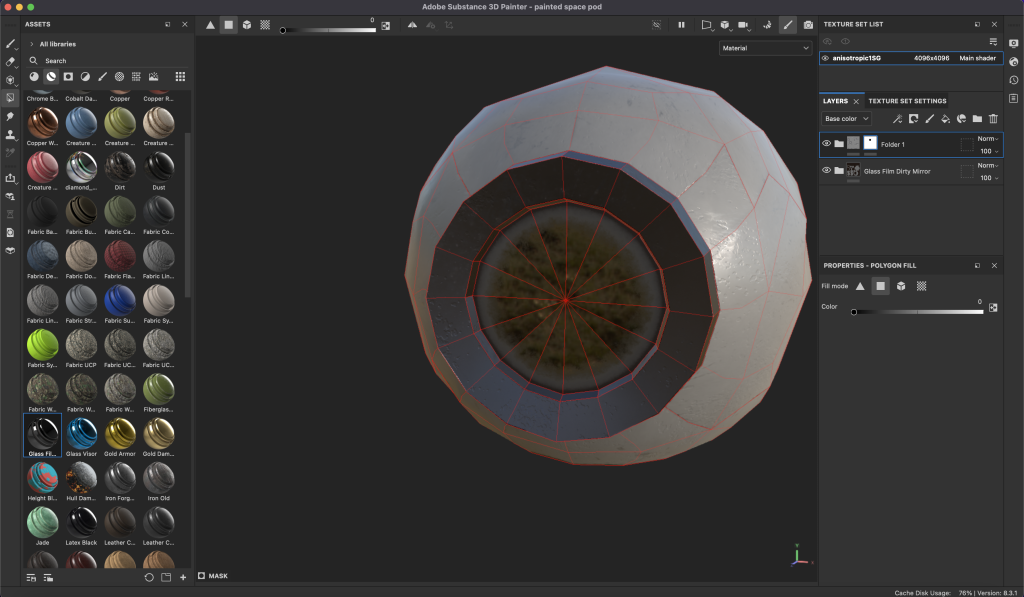
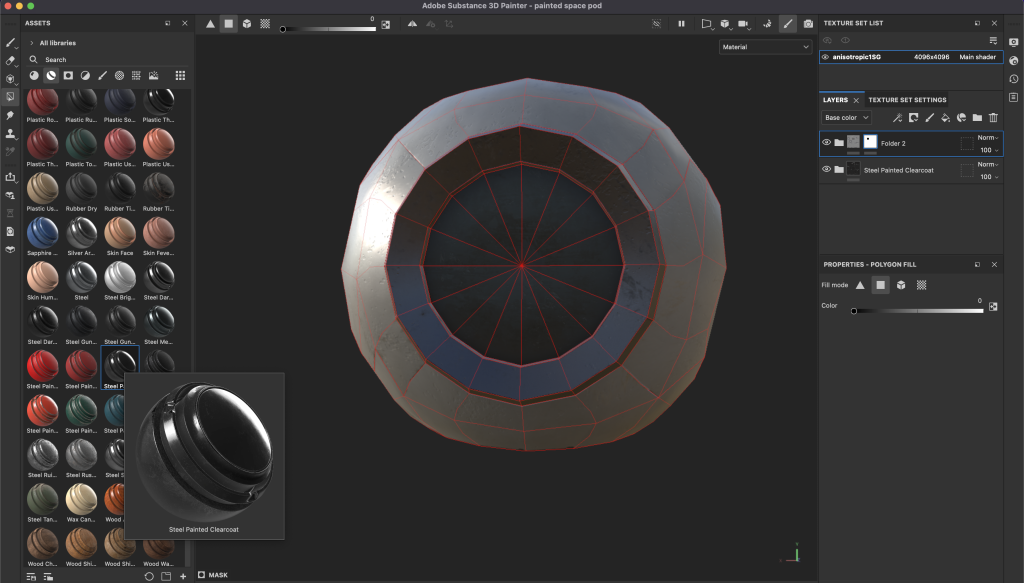
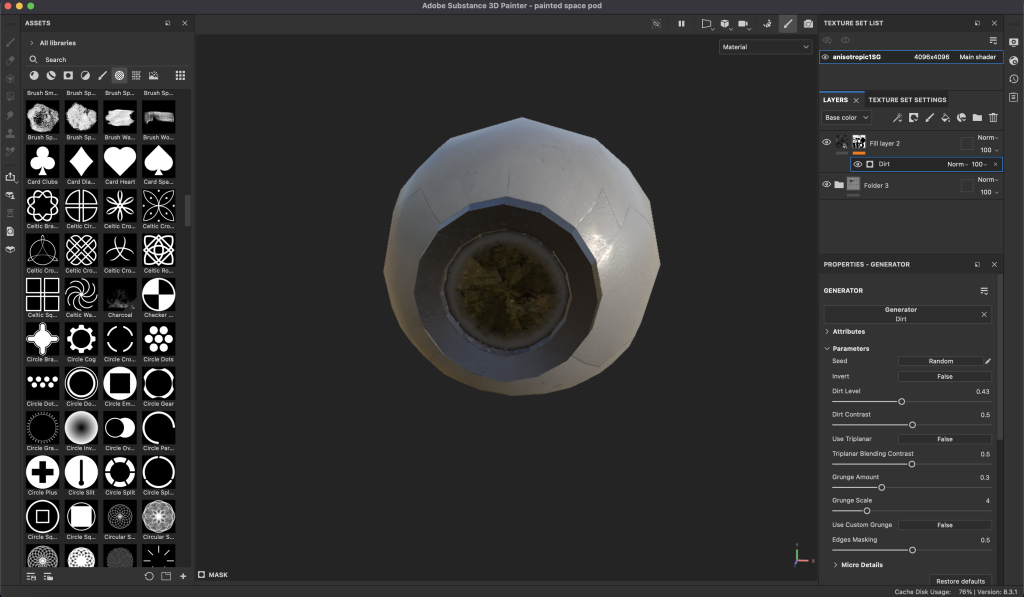
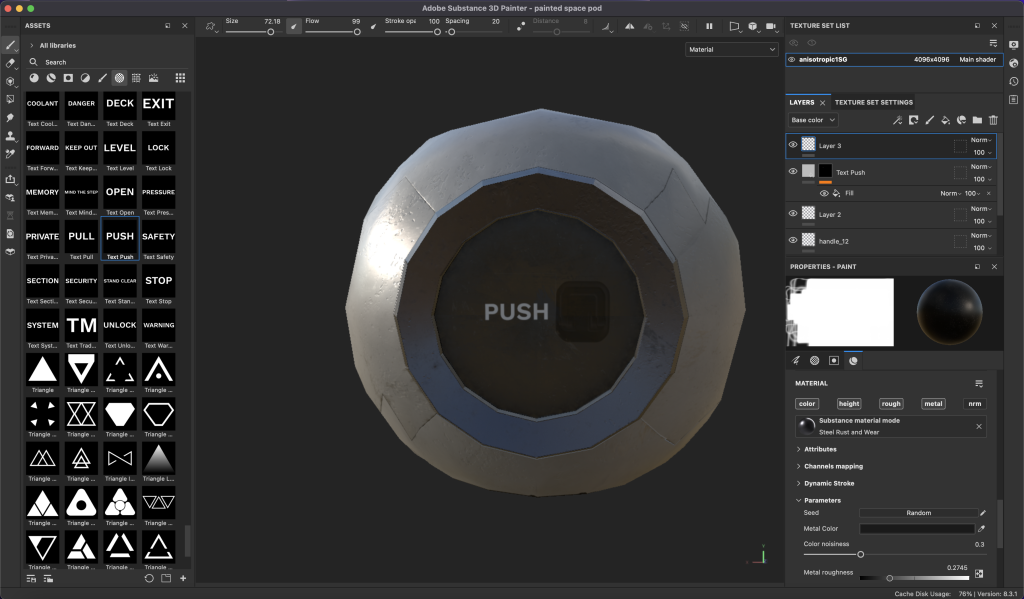
I began the design process in Adobe Substance Painter. There were many experiments with textures and colours, which are demonstrated in the following figures.
Final Product
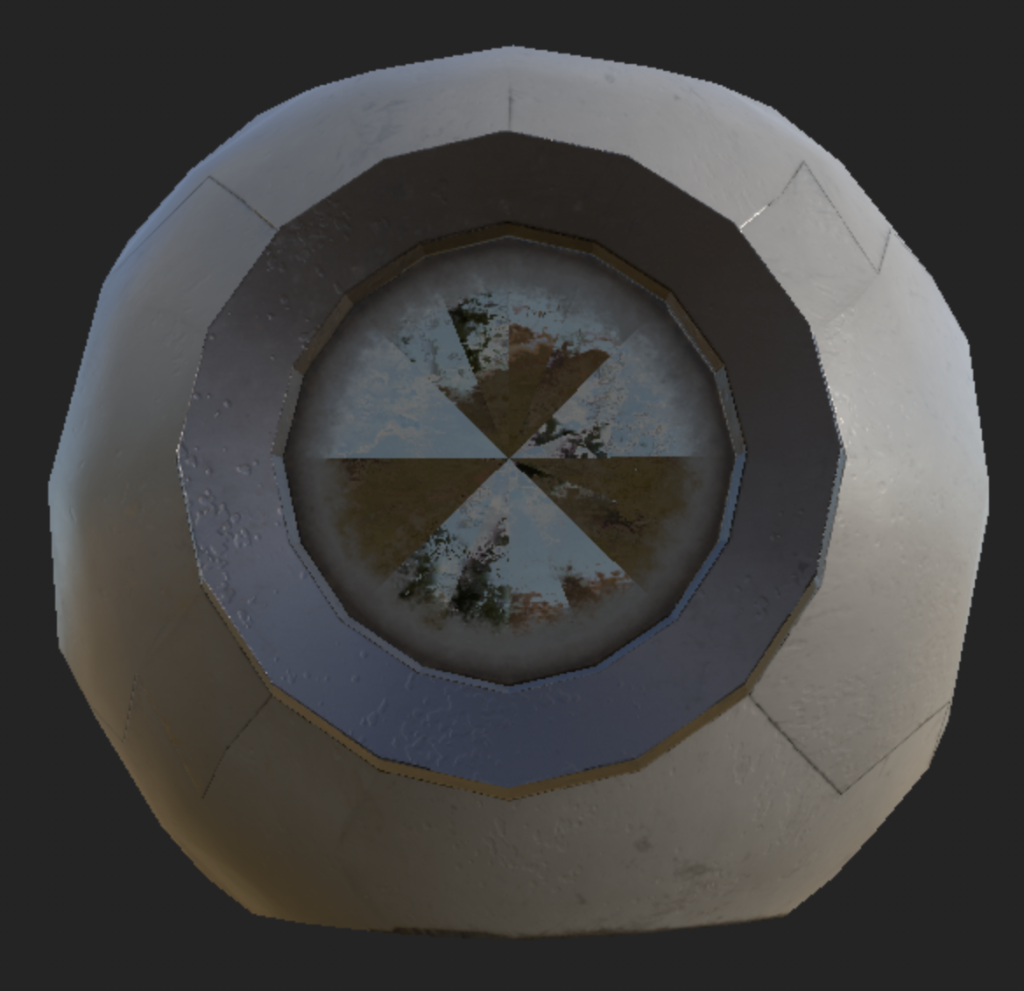
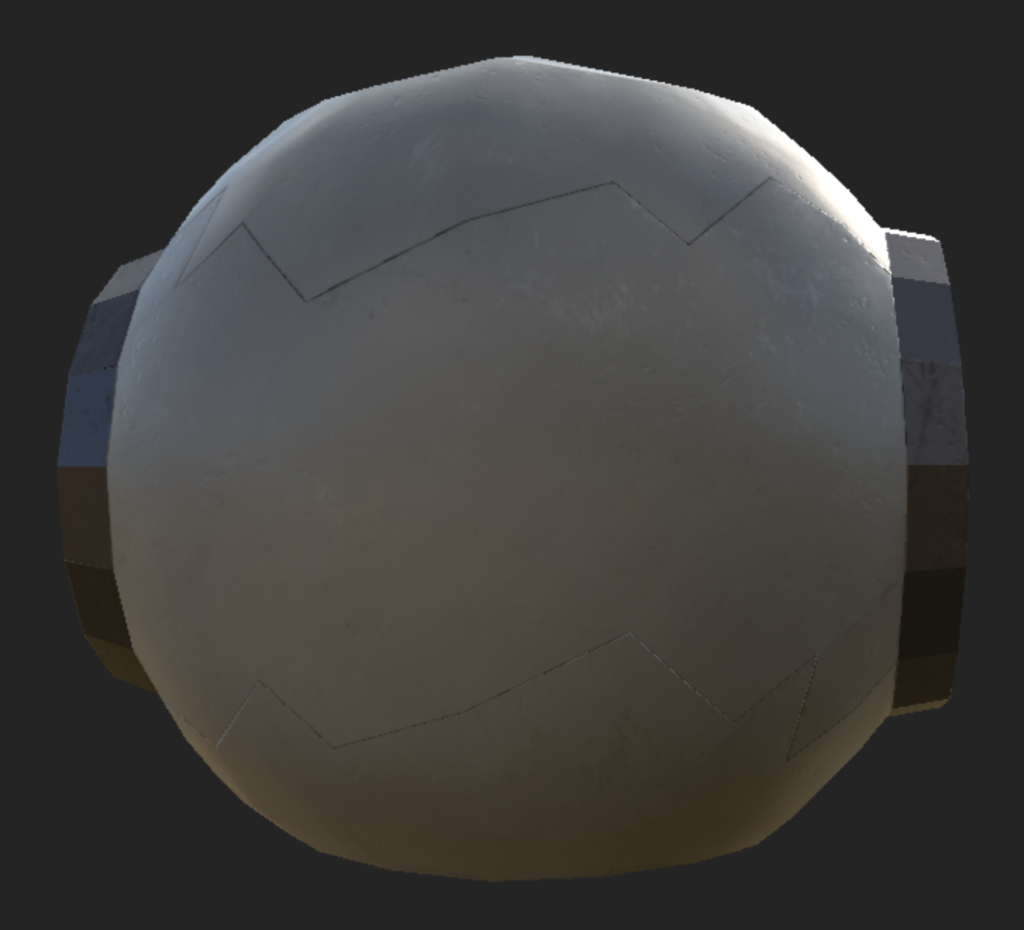
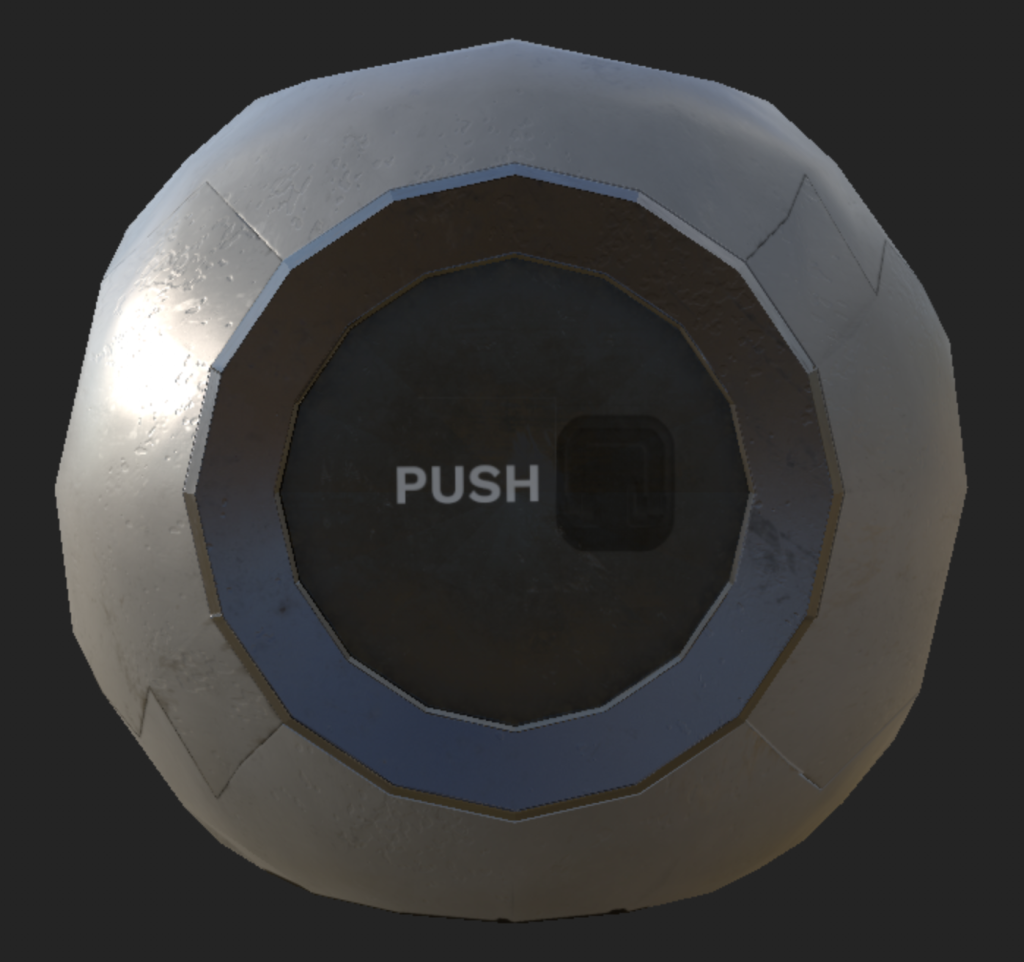
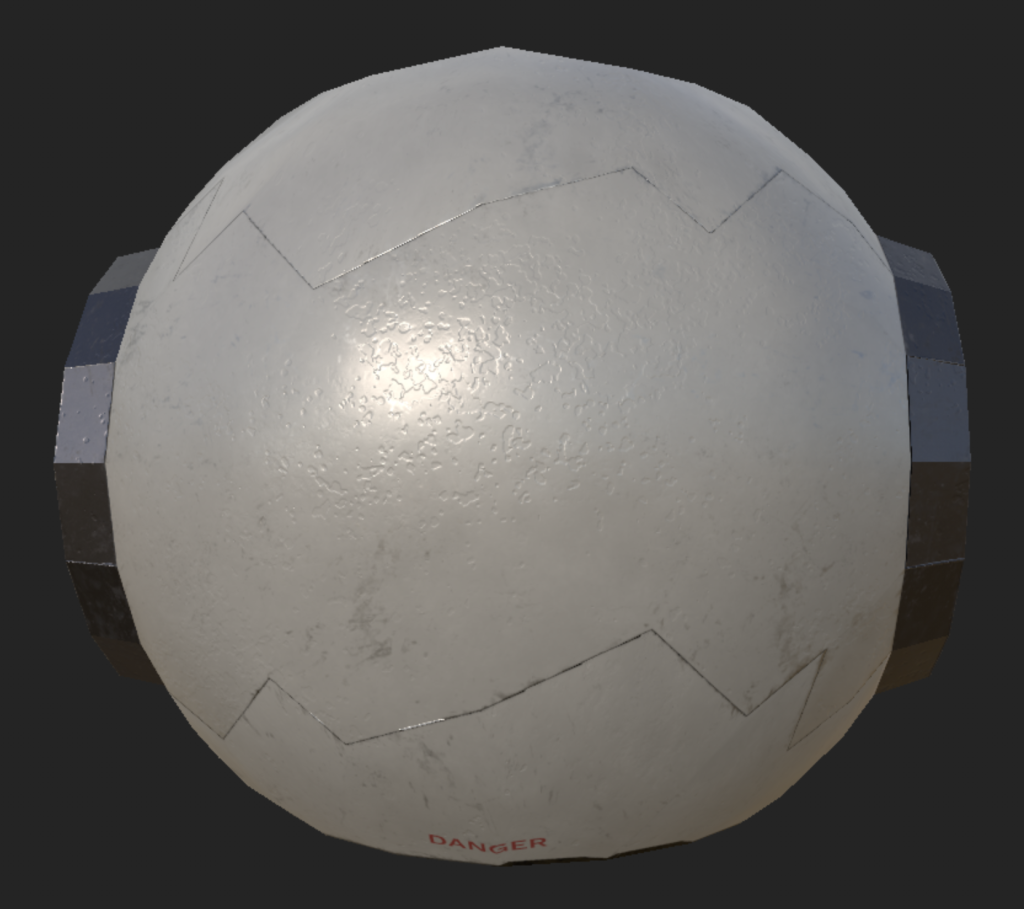
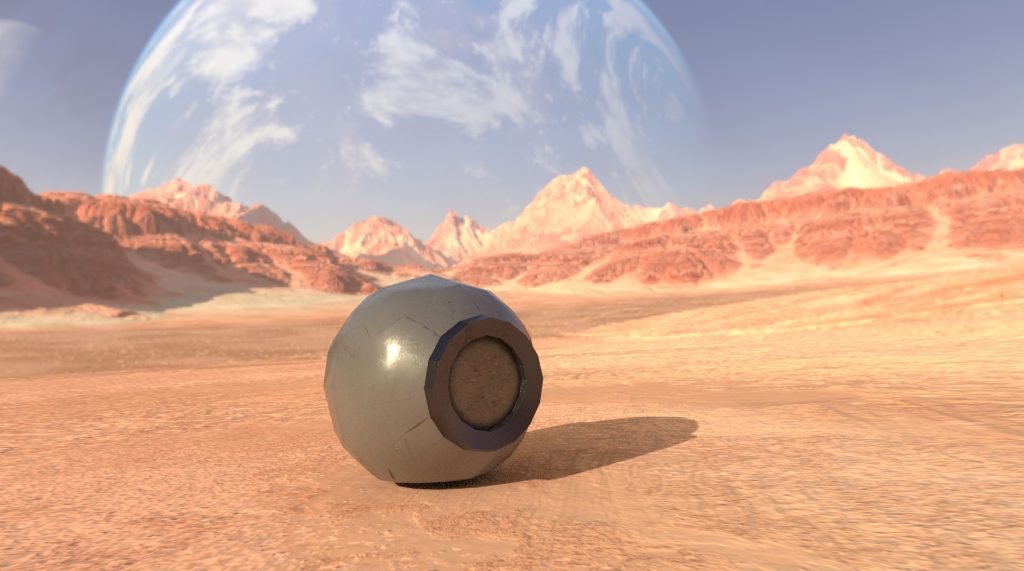
Concluding the experimentation, my design choices are communicated through the following four renders.
References
- JL Mussi. 2019. Substance Painter for Beginners Tutorial. [ONLINE] Available at: https://www.youtube.com/watch?v=s2MOx1Iteik&t=3353s. [Accessed 9 May 2023].
